

SolidWorks: Sheet Metal
/Download all 9 training videos (in MP4 format) plus extra files and resources for a single, one-time fee.
- No memberships.
- No recurring payments.
- Download and keep forever.
- View on any device, any time.
- No ads. No spam. No bloatware.
This rapid-paced series will get you on your way with getting started with sheet metal in SolidWorks and we'll be going over two brand new concepts. We’re going to start with the idea of an assembly having external parts. By saving external parts, we’ll be able to reference those parts within an assembly and practice better workflow techniques. Additionally, we’re going to go over the basics of working with sheet metal within SolidWorks. Let’s get started!
Contents
Part 1: Overview
A quick overview of what we are about to do.
- Overview (06:03)
Part 2: Sheet Metal
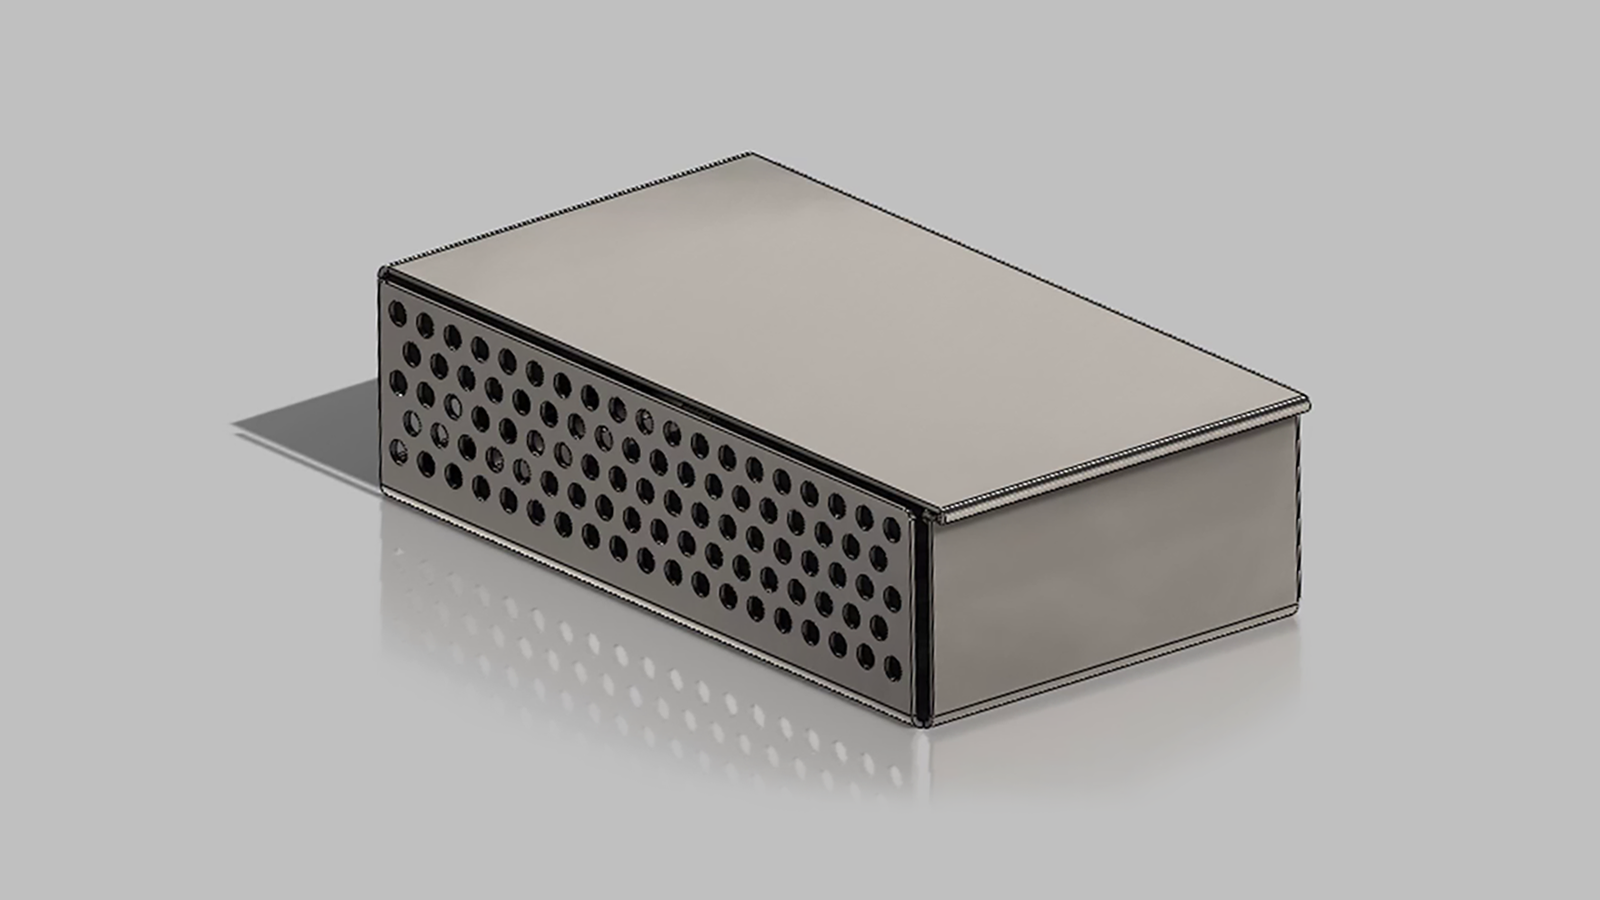
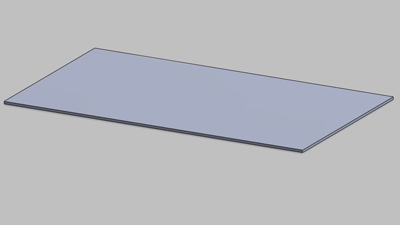
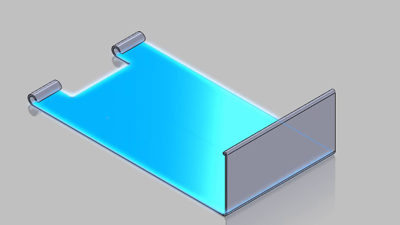
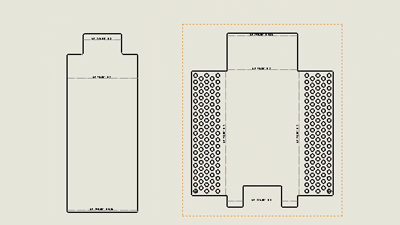
In this segment, we’ll take a look at how SolidWorks generates sheet metal parts in the feature tree. Additionally, we’re going to create a flange for our sheet metal part and take a look at the flatten command. From there we'll take a look at hem, reverse parts, hinges etc.
- Flange (04:17)
- Hem (04:43)
- Reverse Part (06:13)
- Hinge (02:57)
- Mechanical Adjustments (03:43)
- Walls (03:50)
Part 3: External Parts & Drawings
Now that we have our design together, it’s important to consider how the files will be broken down for organizational and communicative purposes. In this video, we’ll take a look at practicing efficient file organization techniques when working with an assembly. We’ll also take a look at creating drawings based on our design.
- External Parts (04:46)
- Drawings (03:17)