

MODO Studio Lighting
/Download all 46 training videos (in MP4 format) plus extra files and resources for a single, one-time fee.
- No memberships.
- No recurring payments.
- Download and keep forever.
- View on any device, any time.
- No ads. No spam. No bloatware.
Let there be light...
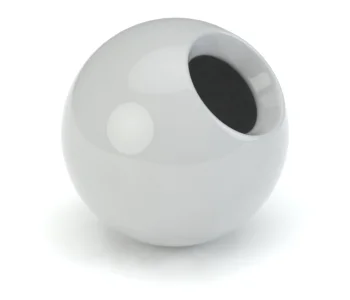
Welcome to brand spankin’ new MODO lighting series! This series centers around product photography. For this lighting series in particular, we’ll be going over the creation of assets, how to setup your scenes, and how to squeeze the most out of modo’s powerful rendering capabilities with strategic workflows.
Contents

Part 1: Ramp Assembly
In this segment we’ll be working on our ramp assembly preset. Ultimately, we’ll end up with an asset that is free of unnecessary components that will make it easier to work with down the line.
- Assembly I (04:39)
- Assembly II (03:57)
- Ramp Assembly Mesh (03:14)
- Hide Ramp Assembly (01:44)

Part 2: Creating Presets
If you find yourself using the same render and camera settings day in and day out, why should you have to do that every time? In this video, we’ll take a look at setting up a render and camera presets.
- Creating a Render Preset (04:21)
- Creating a Camera Preset (04:45)

Part 3: Ramp Rig
One of the keys to working efficiently in MODO is understanding the concept of rigging. While many people think rigging is specific to animation, it is an extremely powerful tool for most any other thing you can do in MODO, especially product photography.
- Ramp Rig I (06:40)
- Ramp Rig II (05:04)
- Ramp Rig Warning (03:50)

Part 4: Creating More Presets
We’ve setup some really great presets for us to use in our product photography studio. In this segment, we’ll take a look at a slightly different type of preset in the form of an environment preset. Also, we’ll take a look at building a basic, blank scene that we can use for a start scene.
- Create an Environment Preset (02:59)
- Create an Blank Scene Template (01:51)

Part 5: Light Rig Assembly
Now that we have few presets in our sack, we’re going to start working on our first fully-controllable light rig assembly for our scene.
- Light Rig Assembly I (03:20)
- Light Rig Assembly II (04:26)
- Light Rig Assembly III (02:57)
- Light Rig Assembly IV (02:02)
- Light Rig Assembly V (04:02)
- Light Rig Assembly VI (03:30)
- Light Rig Assembly VII (03:12)
- Light Rig Assembly VIII (05:01)
- Light Rig Assembly IX (03:08)
- Light Rig Assembly X (03:27)
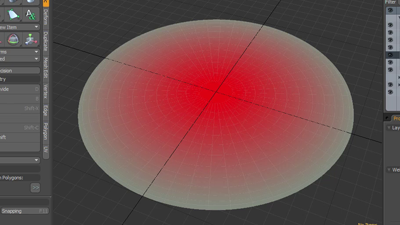
Part 6: Developing Light Rig Further
In this segment, we’re going to take a look at what a map value equation is, create a new preset for adjusting brightness, changing the locator color’s appearance by using our luminous intensity to control the brightness of the colors on our locator mesh and take a look at edge fade.
- Map Values (07:48)
- Brightness (04:15)
- Locator Color (07:10)
- Edge Fade (06:03)
- Drop Action Setup (06:16)

Part 7: Gamma
Before we go any further with defining material presets in MODO, we’re going to have to take a look at how MODO works with color.
- Gamma Intro (05:08)
- Gamma Basics (06:30)
- Gamma Application (04:02)
- Gamma Color Adjust (06:52)

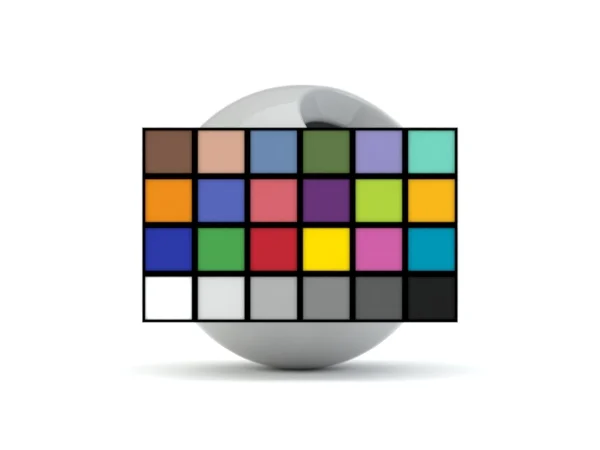
Part 8: Color Checker
Because we’re building a photo studio specifically for material presets, it’s important to have even and balanced lighting. In the real world, a color checker card is used to help make sure that your colors are balanced in a photographic scene. In this video, we’ll take a look at building a virtual color checker card to make sure our lighting setups are balanced.
- Color Checker I (09:28)
- Color Checker II (02:48)

Part 9: Test Scene
So far we’ve been using the default modo scene…however it helps to understand how the default scene is built. In this segment, we’re going to construct a scene from scratch and take a look at why you might use multiple colored lights in your final scene.
- Test Scene Setup (03:51)
- Test Scene Lighting I (04:47)
- Test Scene Lighting II (07:42)
- Testing Global Bounce (05:25)

Part 10: Material Preset
In this segment, we’ll take a look at a flexible way of developing a material preset library and why developing your own material presets can be extremely useful and time-saving down the line.
- Intro to Material Presets (03:59)
- Base Materials I (03:14)
- Base Materials II (06:17)
- Textures (03:52)
- Color (05:13)
- Matcaps (05:38)

Part 11: Compositing
Now that we’ve touched base on setting up a scene, creating proper lighting, and customizing our materials, it’s time to put everything together into a complete composition. In this segment, we’ll go over the basics of how to build a composition using different render outputs in MODO.
- Compositing I (Overview) (05:21)
- Compositing II (32-Bit Images) (06:03)
- Compositing III (Photoshop Video) (03:16)
- Compositing IV (After Effects) (03:16)
Topics
Presets
Camera Presets
Environment Presets
Material Presets
Preset Thumbnails
Camera Settings
Ramp Rig
Lighting in MODO
Rigging Methods
Dynamic Parenting
Setup Tab
Groups
Light Rig
Morph Map
Locking Polygons
Locater Items
Dynamic Parent Relationship
Kelvin Temperatures
Gamma
What is Gamma
Adjusting Gamma
Rendering
Render Settings
Render Presets
Indirect Bounces
Adjusting Indirect Bounces
Color Checker
Color Checker
Accurate Colors
Balance Lighting
Materials
Material Properties
Modifying Properties
Noise and Bump
Material Library
And much...
Much more!